Enhancing the security of your home has always been challenging with the advanced technology offered by Eufy’s Smart Floodlight. Whether you’re a tech-savvy enthusiast or a DIY novice, this step-by-step guide will walk you through installing and setting up your Eufy Smart Floodlight, ensuring a seamless and effective home security solution.
Step 1: Gather Your Tools and Components
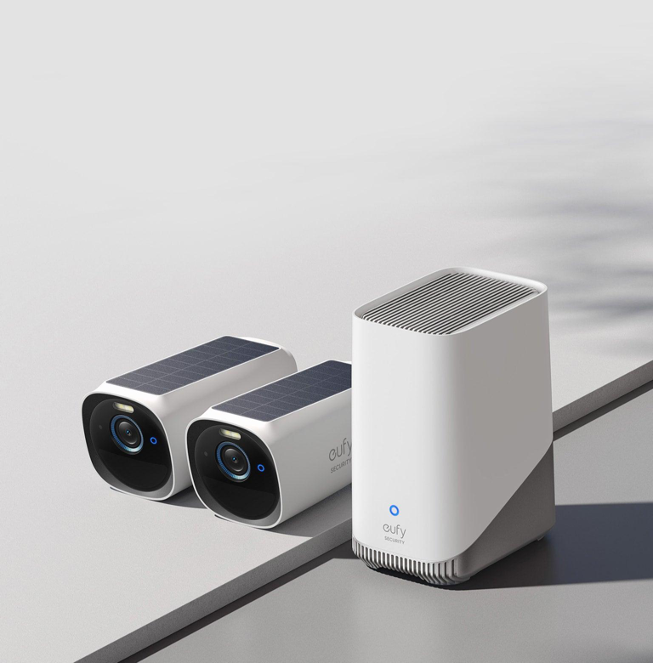
Before you begin, ensure you have all the necessary tools and components. The Eufy Smart Floodlight package typically includes the floodlight unit, mounting hardware, power cable, and required accessories. Additionally, you’ll need essential tools like a screwdriver, a ladder, and safety equipment to ensure a smooth installation process.
Step 2: Choose the Ideal Location
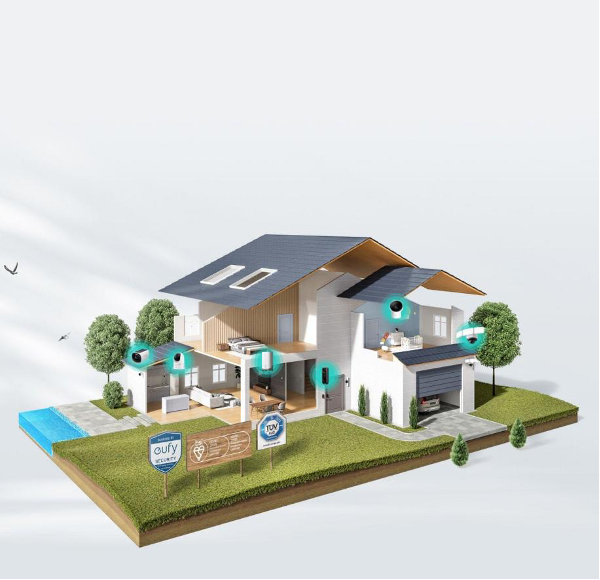
Selecting the optimal location for your Smart Floodlight is crucial to maximizing its coverage and effectiveness. Look for areas around your property that require enhanced illumination and surveillance. Typical spots include entryways, driveways, and backyards. Remember that the floodlight should be positioned high enough to avoid tampering while providing adequate visibility.
Step 3: Mounting the Floodlight
Carefully follow the manufacturer’s instructions to mount the floodlight. Attach the mounting bracket to the desired location using the screws and anchors. Make sure the bracket is secure and level. Once the bracket is in place, attach the floodlight unit to the bracket, ensuring a snug fit. Double-check the stability of the installation before proceeding.
Step 4: Electrical Wiring
If you’re comfortable working with electrical wiring, this step involves connecting the power cable of the Smart Floodlight to your existing electrical wiring. If you need to become more experienced in electrical work, hiring a professional electrician to handle this part of the installation is recommended to ensure safety and compliance with electrical codes.
Step 5: Network Connection
The Eufy Smart Floodlight is designed to be connected to your home Wi-Fi network, enabling remote control and access. Download and install the Eufy Security app on your smartphone. Follow the in-app instructions to create an account, add your floodlight device, and connect it to your Wi-Fi network. This step enables remote monitoring, notifications, and customization options.
Step 6: Calibration and Settings
Once your floodlight is connected to the app, you can customize its settings to suit your preferences. Adjust the motion sensitivity, lighting schedules, and other features according to your needs. Test the floodlight’s motion detection and illumination to ensure they work as intended. Make any necessary adjustments to fine-tune the settings.
Step 7: Maintenance and Monitoring
Congratulations, your Eufy Smart Floodlight is now up and running! Regularly check the device for wear or damage, and clean the lens to ensure optimal performance. Keep an eye on the app for notifications and updates, and familiarize yourself with the remote control features for added convenience.
Conclusion
Installing and setting up your Eufy Smart Floodlight is a straightforward process that can significantly enhance your home security. By following this step-by-step guide, you can ensure that your property benefits from enhanced illumination and surveillance capabilities, all managed conveniently through your smartphone. Safety is paramount during installation, so don’t hesitate to seek professional assistance. Enjoy the peace of mind of knowing your home is protected by advanced technology and reliable security measures.